There's nothing quite like dropping a bath bomb into water and watching it swirl, fizz, and float around. However, achieving that perfect floating bath bomb can be trickier than it seems. Many bath bomb enthusiasts find themselves frustrated when their creations sink to the bottom of the tub, producing lackluster fizzing action. So, what’s the secret to getting bath bombs to float? It's all about buoyancy! In this guide, we’ll debunk common myths and give you a foolproof cheat sheet to make sure your bath bombs stay afloat.
The Common Myths About Floating Bath Bombs
If you’ve ever searched for tips on how to make bath bombs float, you've likely come across a lot of conflicting advice. Let's clear up some of the most common myths:
Myth 1: Using More SLSA or Salts Will Make Bath Bombs Float
One of the most popular myths is that adding more SLSA (Sodium Lauryl Sulfoacetate) or salts will magically make bath bombs float. While SLSA can give bath bombs a nice foamy effect and salts can add skin-soothing benefits, they do little to change the bomb’s buoyancy. The reality is that overloading your bath bombs with SLSA or salts can actually make them denser, increasing the chances that they’ll sink. Remember, buoyancy is more about the weight and distribution of materials rather than specific ingredients.
Myth 2: Poking Holes or Adding Embeds Helps Bath Bombs Float
Another myth suggests that poking holes in the bath bomb or adding embeds (like small soap pieces) inside will somehow make it float. While this can sometimes create interesting effects during the fizzing process, it doesn’t address the core issue of buoyancy. Poking holes might introduce some air into the bath bomb, but it’s not enough to counteract a bomb that’s too heavy for its size. Similarly, adding embeds can make the bath bomb even denser and less likely to float if they increase the overall weight.
Myth 3: The Ingredients Inside Make the Difference
Some people believe that using specific ingredients inside the bath bomb, such as oils or butter, is the key to achieving a floating bath bomb. In reality, it's not about what goes inside the bath bomb but rather how much you fill the mold. Overloading your bath bomb mold with ingredients, no matter what they are, will lead to a heavier, denser bomb that sinks to the bottom.
Now that we’ve debunked some common myths, let's talk about the real reason why bath bombs float: buoyancy.
The Science of Buoyancy: How to Make Bath Bombs Float
The key to making bath bombs float lies in understanding buoyancy, which is the ability of an object to float in a fluid (in this case, water). Buoyancy depends on the object’s density, which is determined by its mass and volume. For bath bombs, achieving the right balance between size and weight is crucial.
Here’s the rule of thumb: If the mold is 2.5 inches in diameter and you’re putting in 6 ounces or more of material, the bath bomb will likely sink. Why? Because the density becomes too high for the volume of the water to support. To make a bath bomb float, you need to adjust the amount of material you put into the mold. It doesn’t matter what’s inside the bath bomb; it's about not overfilling the mold to a point where the bath bomb becomes too heavy.
Our Tested Cheat Sheet for Floating Bath Bombs
After running countless tests, we’ve developed a cheat sheet to help you achieve perfectly floating bath bombs every time. These guidelines are based on the size of the mold and the amount of material you should use:
- 2.25-inch mold: Use 4 ounces of material or less. This size creates a lighter bath bomb that has a great chance of floating.
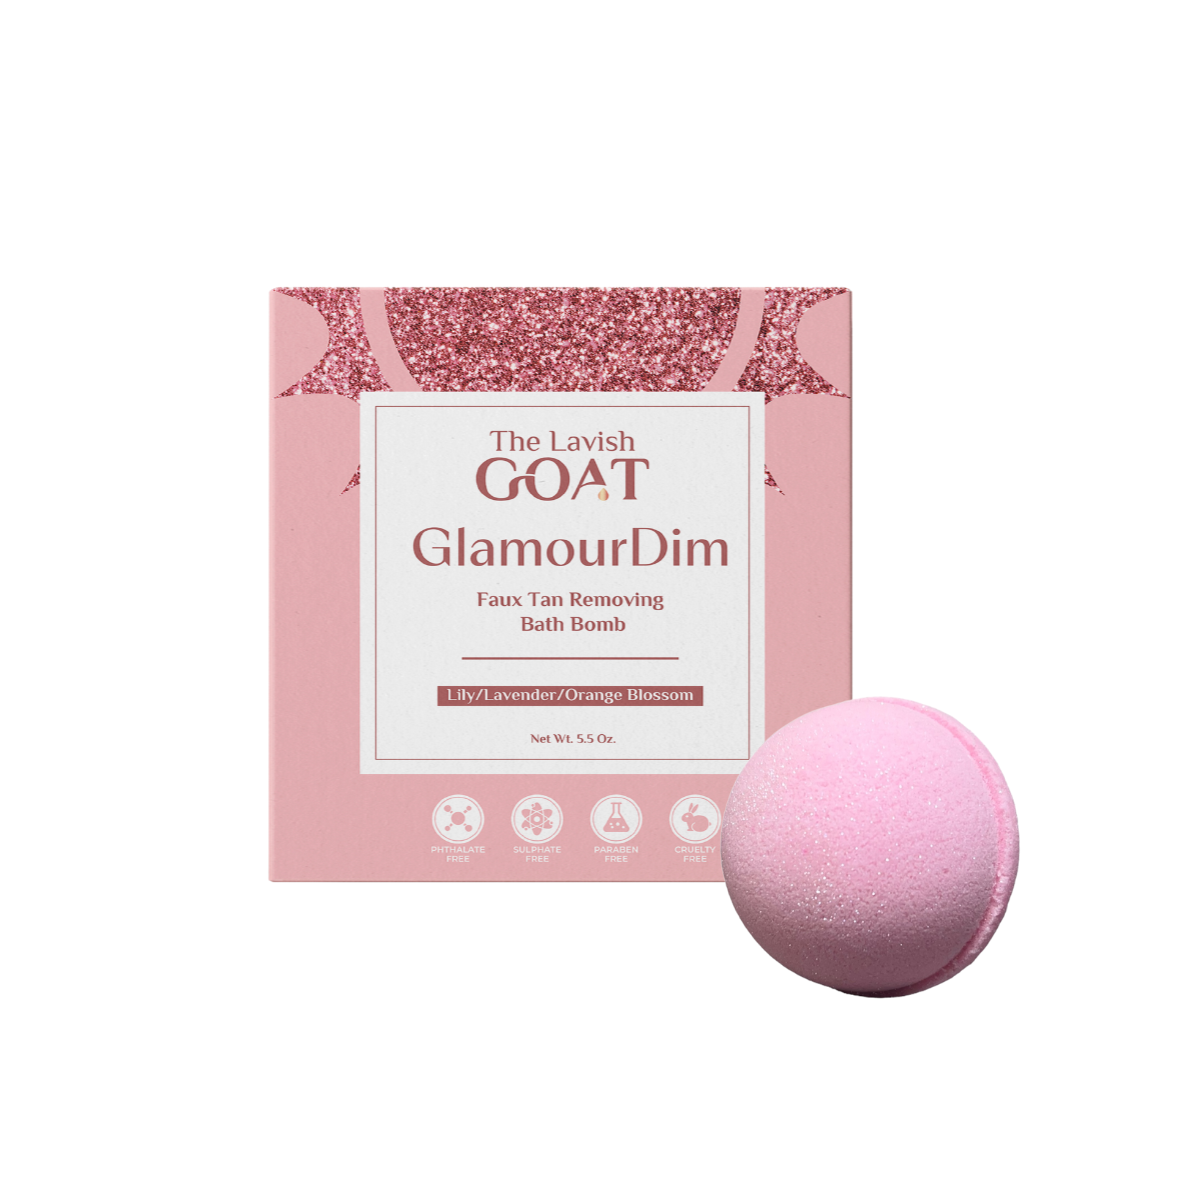
- 2.5-inch mold: Use 5.5 ounces of material or less. Filling the mold with more than this amount increases the risk of sinking.
- 2.75-inch mold: You can use up to 7 ounces of material, but no more. This size allows for a larger bath bomb while still maintaining a good balance between size and weight.
By following this cheat sheet, you ensure that your bath bombs are not overly dense, giving them a higher probability of floating once they hit the water. These numbers provide a helpful guideline, but always feel free to experiment to find the perfect weight for your specific formula.
Tips for Crafting Perfect Floating Bath Bombs
Now that you understand the basics of buoyancy and the appropriate fill weights for different molds, here are some additional tips to perfect your bath bomb-making process:
1. Don’t Overfill Your Molds
It's tempting to pack as much material into your mold as possible to create larger, more dramatic bath bombs. However, overfilling the mold is the quickest way to make your bath bombs sink. Stick to the fill weights in the cheat sheet above to achieve the best floating effect.
2. Avoid Packing the Mixture Too Tightly
When pressing the bath bomb mixture into the mold, use a firm but gentle hand. Over-compressing the mixture will result in a denser, heavier bath bomb that is more likely to sink. The key is to strike a balance between a compact form and maintaining some airiness within the bomb to aid in buoyancy.
3. Use Lightweight Ingredients Wisely
While the choice of ingredients isn’t the primary factor in whether your bath bomb floats, using lightweight fillers like cornstarch can help reduce the overall density of the bomb. Just be cautious not to add too much, as it could affect the fizzing action. Using finely milled powders can also ensure a smooth mixture that forms a cohesive but not overly dense bath bomb.
4. Consider the Shape of Your Bath Bomb
Most bath bombs are round, but you can experiment with different shapes to impact buoyancy. For instance, flatter shapes like discs or hearts might have more surface area relative to their weight, giving them a better chance of floating. However, regardless of shape, adhering to the fill weight recommendations for your mold size is crucial.
Why Do Some Bath Bombs Sink While Others Float?
The reason some bath bombs sink while others float is primarily due to the difference in weight relative to the volume of water they displace. In simpler terms, a bath bomb that is too dense for its size will sink. By keeping the weight of the bath bomb within the recommended ranges for each mold size, you increase its ability to displace enough water to stay afloat.
Remember, it’s not about what's inside the bath bomb, but how much material you put in. Filling a 2.5-inch mold with more than 5.5 ounces of mixture will result in a bomb that is simply too heavy to float. Following the cheat sheet above is your best bet for success.
Closing Thoughts
Achieving the perfect floating bath bomb isn't magic—it's science! By understanding the principles of buoyancy and following our tried-and-tested guidelines, you can create bath bombs that float effortlessly in water. It's all about balancing the size of the mold with the amount of material you use, not stuffing the bath bomb with excessive ingredients or using specific "floating agents."
At The Lavish Goat, we’ve perfected the art of bath bomb making through careful testing and experience. We hope this guide helps you create your own beautiful, buoyant bath bombs that delight your customers or enhance your personal self-care routine. So, next time you craft a bath bomb, remember: it’s not what’s inside but how much you fill the mold!
For more bath bomb-making tips and tricks, or to shop our luxurious bath bombs, visit The Lavish Goat. Happy crafting!