How to Make a Bath Bomb: A Step-by-Step Guide to Perfect Fizz Every Time
There’s something magical about dropping a fizzy, fragrant bath bomb into your tub. But what if you could make them yourself? Whether you're crafting for fun, for gifts, or to start a bath bomb business, learning how to make a bath bomb is a creative and rewarding process. In this guide, we’ll walk you through the ingredients, techniques, troubleshooting tips, and pro secrets to help you make bath bombs that are beautifully fizzy and won’t crumble.
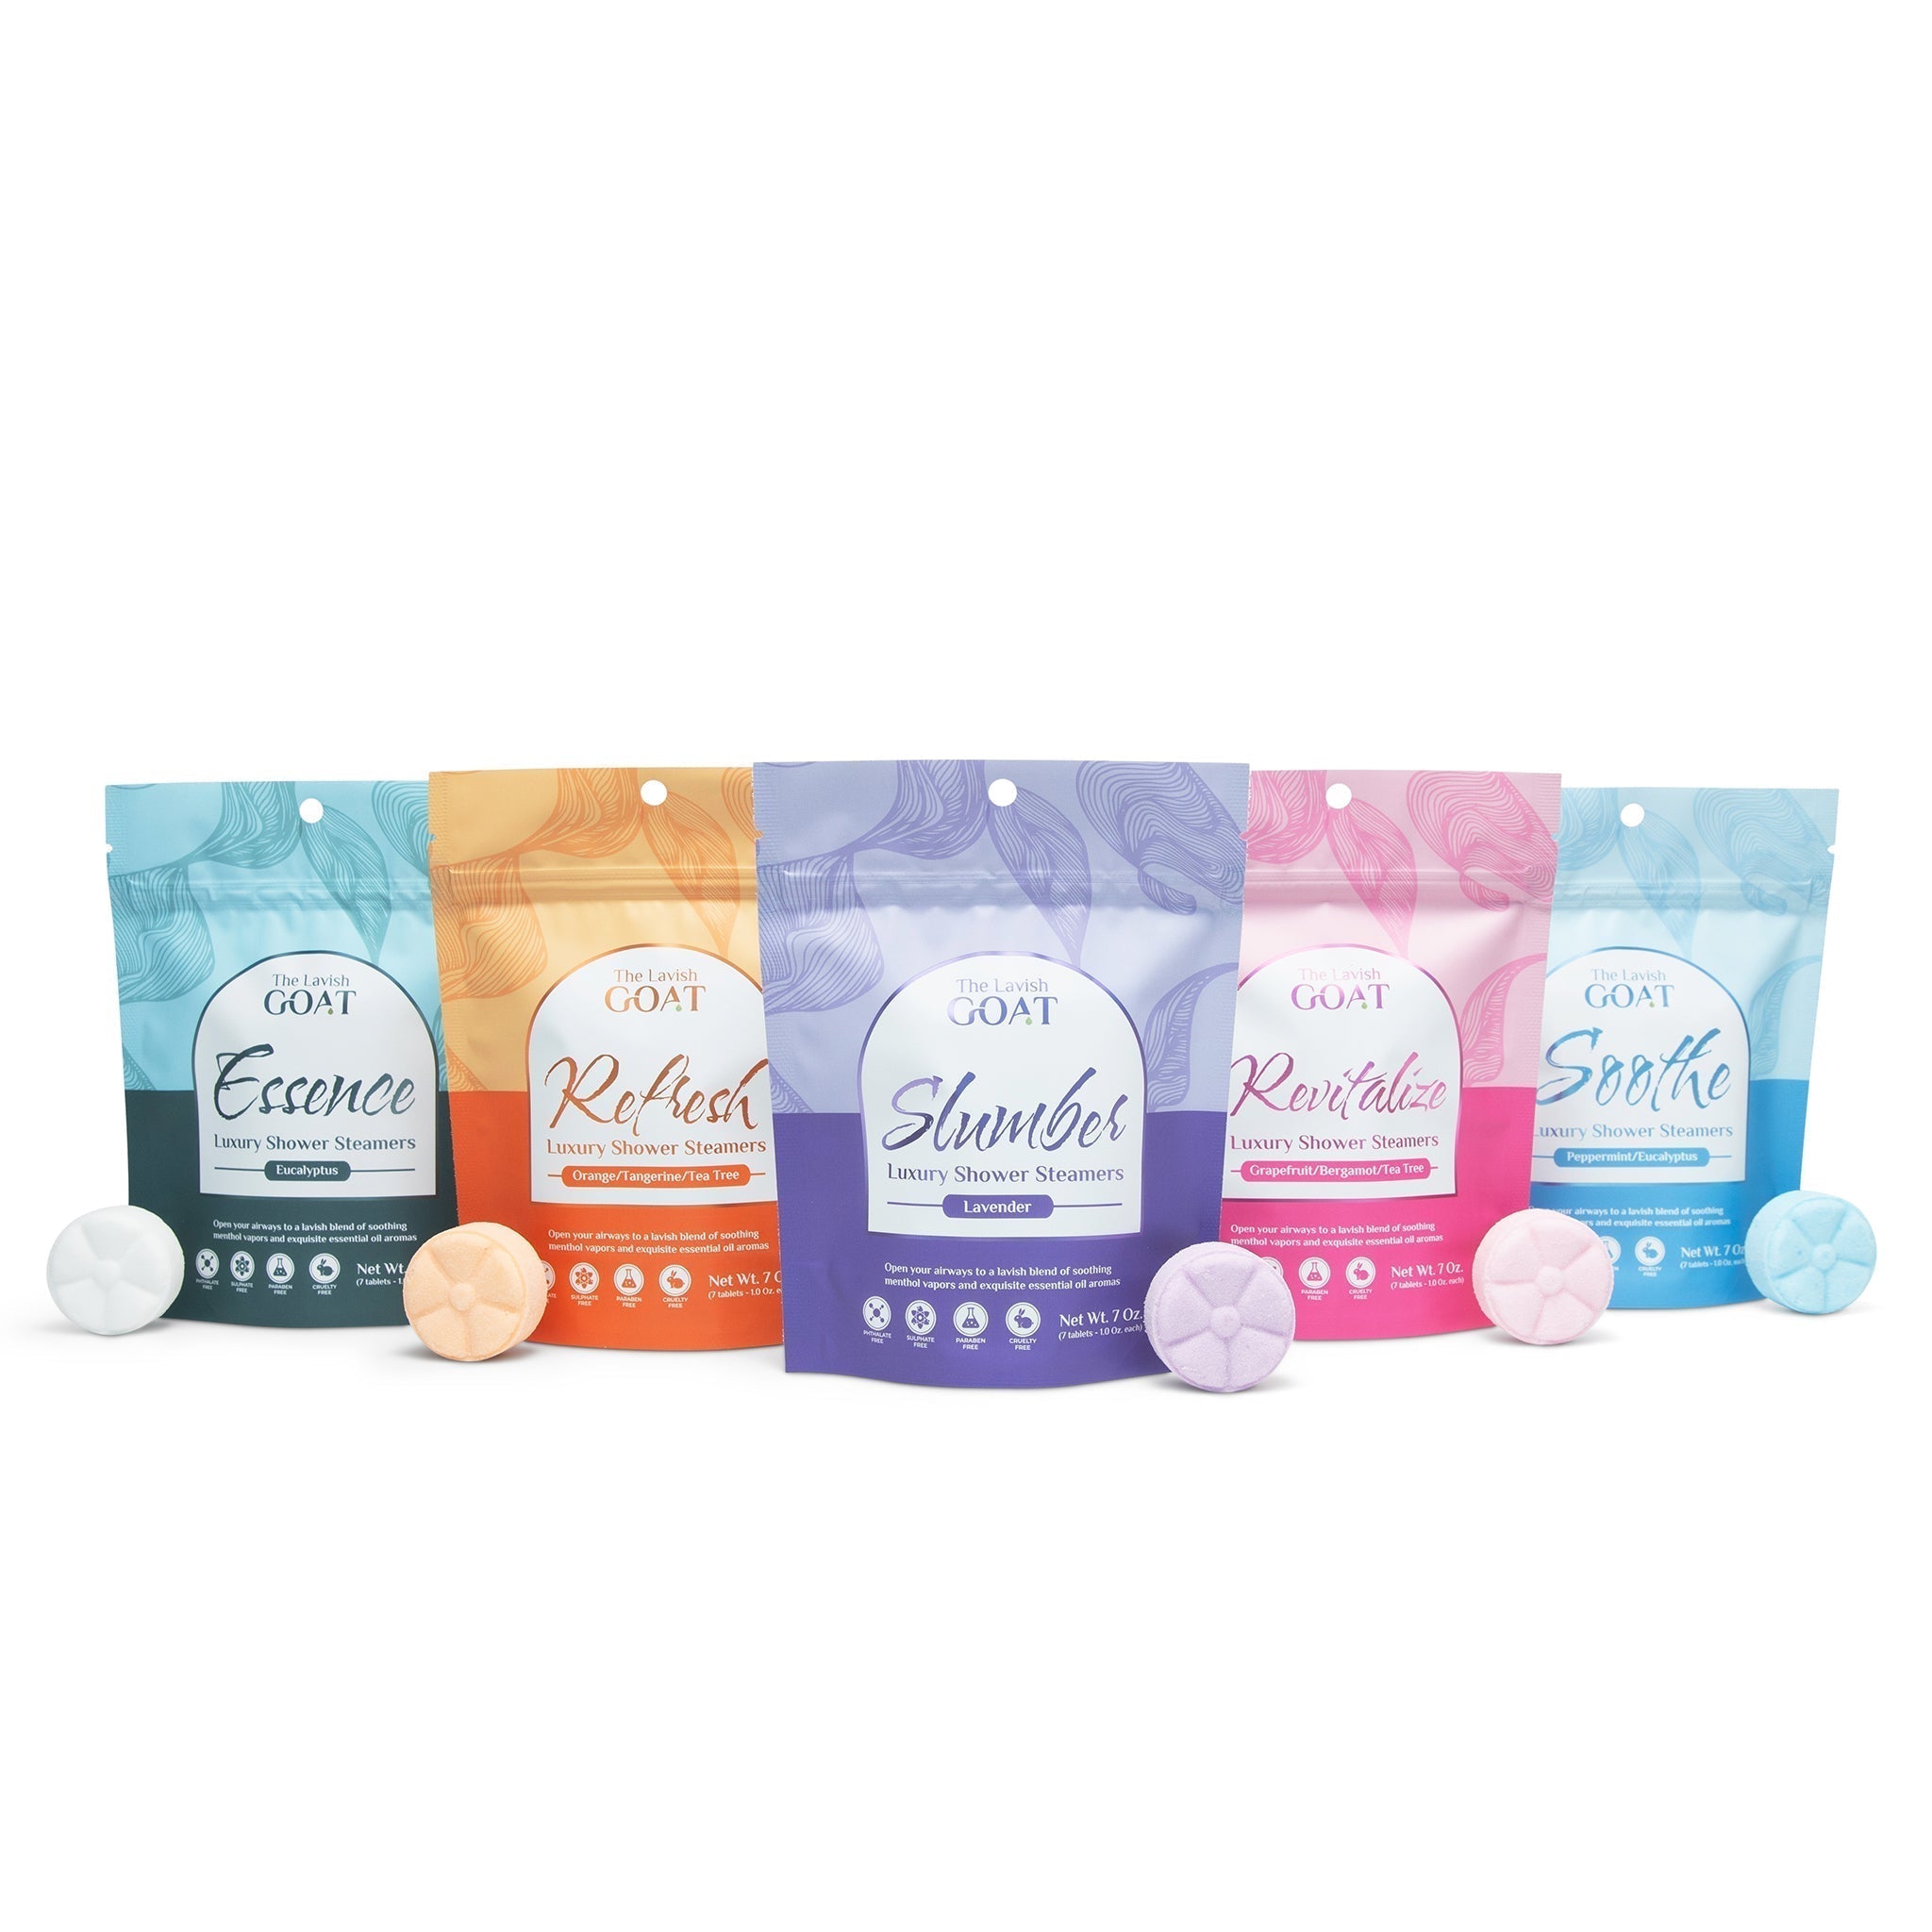
At The Lavish Goat, we handcraft thousands of bath bombs each week using goat milk, coconut oil, and skin-safe ingredients. Our team has perfected the process—and now we’re sharing what we’ve learned so you can make your own bath bombs like a pro.
🛁 What Is a Bath Bomb?
A bath bomb is a compact mixture of dry ingredients that fizzes when it comes into contact with water. It typically contains baking soda and citric acid (for the fizzing reaction), moisturizers like oils or butters, fragrance or essential oils for scent, and colorants for visual appeal.
As it dissolves in the tub, it releases fragrance, color, and skin-softening agents—transforming your bath into a spa-like experience.
🧪 Ingredients You'll Need to Make a Bath Bomb
Here’s a standard list of what you’ll need to get started:
Dry Ingredients:
-
1 cup baking soda (sodium bicarbonate)
-
1/2 cup citric acid
-
1/2 cup cornstarch (or kaolin clay)
-
1/4 cup Epsom salt (optional, but great for soothing muscles)
-
Colorant (use skin-safe dyes or micas—never food coloring!)
Wet Ingredients:
-
2–3 teaspoons of a light oil (coconut oil, sweet almond oil, or olive oil)
-
1 teaspoon water (or witch hazel/alcohol, depending on climate)
-
10–15 drops of essential oil or fragrance oil (phthalate-free is best)
-
Optional: Polysorbate 80 (1 tsp helps oils and color disperse in water, preventing tub rings)
🧂 Tools You’ll Need
-
Mixing bowls (glass or stainless steel work best)
-
Whisk
-
Measuring cups and spoons
-
Spray bottle (for adding binder gradually)
-
Bath bomb molds (metal or plastic—round is classic!)
🌡️ Step-by-Step: How to Make a Bath Bomb
Step 1: Mix Dry Ingredients
In a large bowl, whisk together:
-
Baking soda
-
Citric acid
-
Cornstarch or kaolin clay
-
Epsom salt
-
Colorant (powder or mica)
Make sure everything is evenly mixed. This step is crucial for preventing streaks or uneven fizzing.
Step 2: Combine Wet Ingredients
In a separate container, mix:
-
Your chosen oil
-
Essential/fragrance oil
-
Polysorbate 80 (optional)
-
Water (or alcohol/witch hazel)
Step 3: Slowly Combine Wet and Dry
Pour the wet mixture into the dry slowly, whisking constantly. This prevents premature fizzing.
Use your spray bottle to lightly mist the mix with binder (water/alcohol/witch hazel) until the texture holds together like damp sand when squeezed.
🚨 Don’t over-wet! That causes fizzing or puffy bombs.
Step 4: Pack the Mold
Firmly press the mixture into your molds. If you’re using a round two-piece mold:
-
Overfill each half slightly
-
Press them together tightly
-
Twist and remove one side immediately, then the other after a few minutes
Set them on parchment paper to dry.
Step 5: Let Them Dry
Let bath bombs dry uncovered for 24 hours in a climate-controlled area (ideally 50–60% humidity).
If you live in a humid area (like Houston!), use a dehumidifier or dry room. If it's too dry, you may need more binder to prevent crumbling.
🧽 Troubleshooting Crumbly or Puffy Bath Bombs
Crumbly?
-
You didn’t use enough binder
-
The air was too dry
-
Try adding a little more oil or water and remixing
Puffy or Expanding?
-
You added too much moisture
-
The humidity was too high
-
Use alcohol instead of water next time and dry in a less humid room
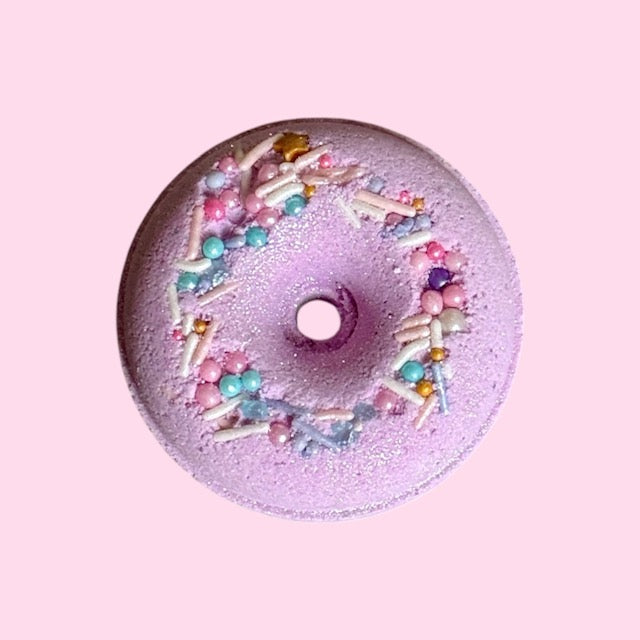
🎨 How to Add Bath Art
Want that colorful swirl in your tub? Here’s how:
-
Use multiple colors layered in the mold
-
Add embeds (tiny colored balls inside the bath bomb)
-
Use skin-safe micas for shimmer and swirls
-
Add cocoa butter drizzle or “toppings” after drying
This is what makes bath bombs from The Lavish Goat so visually stunning.
🐐 Want the Pro Secret? Goat Milk + Coconut Oil
At The Lavish Goat, we add goat milk to our bath bombs for:
-
Natural exfoliation
-
Skin-calming nutrients
-
Ultra-creamy bathwater
We also use coconut oil to:
-
Soften skin
-
Add a luxurious silky feel
-
Provide a stable moisturizing base
✨ Optional Additions
-
Botanicals (lavender buds, rose petals—just note they won’t dissolve)
-
Surprises inside (mini toys, charms, or messages—wrapped securely!)
-
Scent layering using top, middle, and base notes
🧼 Final Tips for Making Perfect Bath Bombs
-
Work in small batches to avoid rushing
-
Store bath bombs in airtight containers after drying
-
Use shrink wrap to protect them from humidity
-
Label with scent and ingredients for gifting or selling
-
Keep a notebook of each batch’s formula and results for consistency
🌟 In Summary: How to Make a Bath Bomb Like a Pro
Making bath bombs is both science and art. With the right ingredients, climate control, and a little patience, you can create your own colorful, fizzy masterpieces at home.
And if you’d rather just soak and relax? Leave it to the pros—we’ve got you covered.
👉 Want handmade bath bombs with luxurious ingredients and surprise designs?
Shop The Lavish Goat Bath Bombs and bring the fizz without the fuss.